

Embarking on the journey of iOS app development is an exciting venture. You have an idea, you’ve started learning Swift, and you’re ready to bring your creation to life. But before you can share your app with the world, you need to take a crucial step: enrolling in the Apple Developer Program. This program gives you access to the tools, resources, and distribution platform necessary to publish on the App Store.
This guide will walk you through everything you need to know about getting your own iOS developer account. We will cover why it’s essential, what you need to prepare beforehand, and the exact steps to complete your enrollment. We’ll also share tips to help you avoid common pitfalls along the way. By the end, you’ll have a clear roadmap to successfully purchasing your account and taking the next big step in your development career.
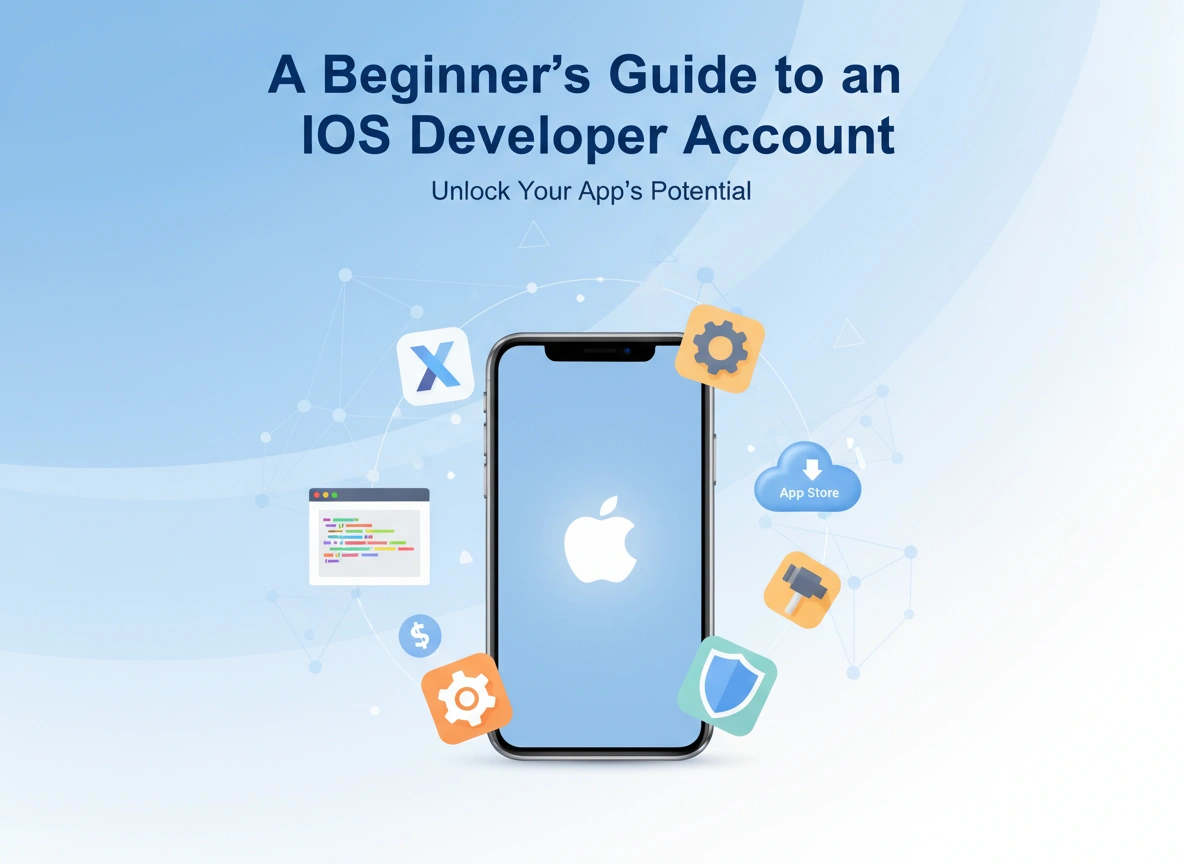
Why an iOS Developer Account is Essential
Think of the Apple Developer Program as your official entry ticket into the iOS ecosystem. While you can build and test apps on your own devices using a free Apple ID, a paid developer account unlocks the full suite of capabilities required for serious development and distribution.
The primary benefit is access to the App Store. This is the only official channel to distribute your app to millions of iPhone and iPad users globally. Without a developer account, your app can’t be listed, discovered, or downloaded by the public.
Beyond distribution, the program provides indispensable tools. You gain access to beta versions of iOS, iPadOS, watchOS, and macOS, allowing you to test your apps on upcoming operating systems and ensure they are compatible from day one. You also get advanced capabilities like push notifications, iCloud storage, and Game Center integration. Furthermore, membership grants you access to comprehensive analytics through App Store Connect, where you can track downloads, user engagement, and revenue.
Essentially, the $99 annual fee is an investment in your app’s potential for success, providing the platform, tools, and support needed to go from a personal project to a professional product.
Prerequisites: What You Need Before You Start
To ensure a smooth enrollment process, it’s best to gather all the necessary information and meet the requirements beforehand. The process differs slightly depending on whether you are enrolling as an individual or as an organization.
For Individuals
Enrolling as an individual is the most straightforward path and is ideal for solo developers, freelancers, or hobbyists. Under this plan, your name will be listed as the seller on the App Store.
Here’s what you need:
- An Apple ID with Two-Factor Authentication (2FA) enabled: This is a standard security measure. If you don’t have 2FA turned on, you’ll be prompted to enable it during the process. It’s wise to set this up in advance through your device’s settings.
- Personal Information: You must provide your legal first and last name, a valid address, and a phone number. This information must match your official identification documents. Apple takes verification seriously, so double-check for accuracy.
- A Valid Credit Card: You’ll need a credit card to pay the annual membership fee. Ensure the card is not expired and has sufficient funds. In some regions, other payment methods like PayPal may be available.
For Organizations
If you are enrolling on behalf of a company, non-profit, or educational institution, the requirements are more extensive. The company’s legal name will be listed as the seller on the App Store.
Here’s the checklist for organizations:
- A D-U-N-S Number: This is a unique nine-digit identifier for businesses, assigned by Dun & Bradstreet. It’s a global standard for business identification. You can check if your organization already has one or apply for one for free on the D&B website. The issuance can take several business days, so plan accordingly.
- Legal Entity Status: Your organization must be a legal entity, such as a corporation, LLC, or partnership. DBAs, fictitious businesses, trade names, or branches are not accepted.
- Legal Binding Authority: The person enrolling the organization must have the legal authority to bind the company to agreements. You will be asked to confirm this during enrollment.
- A Public Website: Your organization’s website must be publicly available, and the domain name should be associated with the organization.
Gathering these details first will make the actual purchase process much quicker and free of unexpected delays.
Step-by-Step: How to Buy Your iOS Developer Account
With your prerequisites in hand, you’re ready to enroll. The process is managed through Apple’s website and the Apple Developer app.
Step 1: Download the Apple Developer App
The first step is to download the official Apple Developer app from the App Store on your iPhone or iPad. While you can start the process on the web, Apple now requires you to complete the final enrollment steps within the app.
Step 2: Sign In and Start Enrollment
Open the Developer app and tap on the “Account” tab at the bottom. Sign in using the Apple ID you wish to associate with your Buy IOS Developer Account. Remember, this should be the one with two-factor authentication enabled. Once signed in, you will see an option to “Enroll Now.” Tap it to begin.
Step 3: Verify Your Personal Information
The app will display the personal information associated with your Apple ID. This is a critical step. Carefully review your legal first name, last name, and country. If any of this information is incorrect, you must correct it in your Apple ID settings before proceeding. Mismatches can lead to verification failures.
Step 4: Choose Your Entity Type
You will be asked to select your entity type: “Individual” or “Organization.”
- If you are a solo developer, choose Individual. This is the most common choice for beginners.
- If you are enrolling for a business, select Organization. You will then be prompted to enter your organization’s legal name and D-U-N-S Number.
Step 5: Read and Agree to the Program License Agreement
Apple will present you with the Apple Developer Program License Agreement. This is a legal contract that outlines your rights and responsibilities as a member. While it’s tempting to scroll through and click “Agree,” it’s a good practice to read it carefully. It contains important rules about app content, user data privacy, and intellectual property. Once you have reviewed it, accept the terms to continue.
Step 6: Complete the Payment
The final step is payment. The annual membership fee is $99 USD (or the equivalent in your local currency). The app will guide you to a payment screen where you can enter your credit card information. The subscription is set to auto-renew by default, which you can manage later in your account settings.
After you submit your payment, your purchase will be processed. You’ll receive a confirmation email from Apple shortly, often within a few minutes. In some cases, verification might take up to 48 hours, but it’s usually much faster for individual enrollments.
Tips for a Smooth Process
Enrolling in the Apple Developer Program is generally straightforward, but a few common issues can trip up new developers.
- Use Your Legal Name: Do not use a nickname or an alias. The name on your developer account must match your government-issued ID and credit card information. Discrepancies will cause your enrollment to be rejected.
- Prepare for Verification: Apple may require additional verification to confirm your identity, especially for organization accounts. Be prepared to provide documentation if requested. This helps maintain the integrity and security of the App Store.
- Understand the Renewal Process: The membership is an annual subscription. Mark the renewal date on your calendar and ensure your payment method remains valid to avoid any interruption in your service. If your membership lapses, your apps will be removed from the App Store until you renew.
- Choose the Right Entity Type from the Start: While it is possible to migrate from an individual to an organization account later, the process can be complex. If you plan to operate as a business, it’s better to enroll as an organization from the beginning.
Conclusion: Your Journey Begins Now
Congratulations! By following these steps, you have successfully navigated the process of purchasing your iOS developer account. This is a significant milestone that officially opens the door to the global App Store market. You now have the keys to a powerful set of tools and a platform to share your vision with the world.
The path of an app developer is one of continuous learning and creation. With your developer account secured, you can now focus on what truly matters: building incredible apps. Start exploring TestFlight for beta testing, dive into App Store Connect analytics, and prepare for your first app submission. The journey ahead is challenging but immensely rewarding. Welcome to the community of Apple developers.


Leave a Reply